Trending

Cold weather doesn't shut a studio down, but it changes the rules. A kiln in an unheated garage, a glaze bucket left near a drafty door, clay stacked against a concrete wall — all of it behaves differently once the temperature drops and the air turns damp. Most winter problems aren't dramatic. They're slow: condensation inside a control box, a bisque load that cracks for no obvious reason, a bucket of glaze that never quite comes back. A few hours of preparation now saves weeks of frustration in January, and none of it requires expensive equipment.
The kiln is the most expensive thing in the studio and the least fond of cold, damp air. Firebrick is porous. It takes on moisture from the room and gives it back slowly, and in an unheated space that moisture migrates into element grooves and the control box, where it corrodes contacts and causes nuisance faults. If the kiln lives in a shed or garage, think of the room as part of the firing system. A dry kiln in a damp room is still a damp kiln.
A few habits make a real difference:
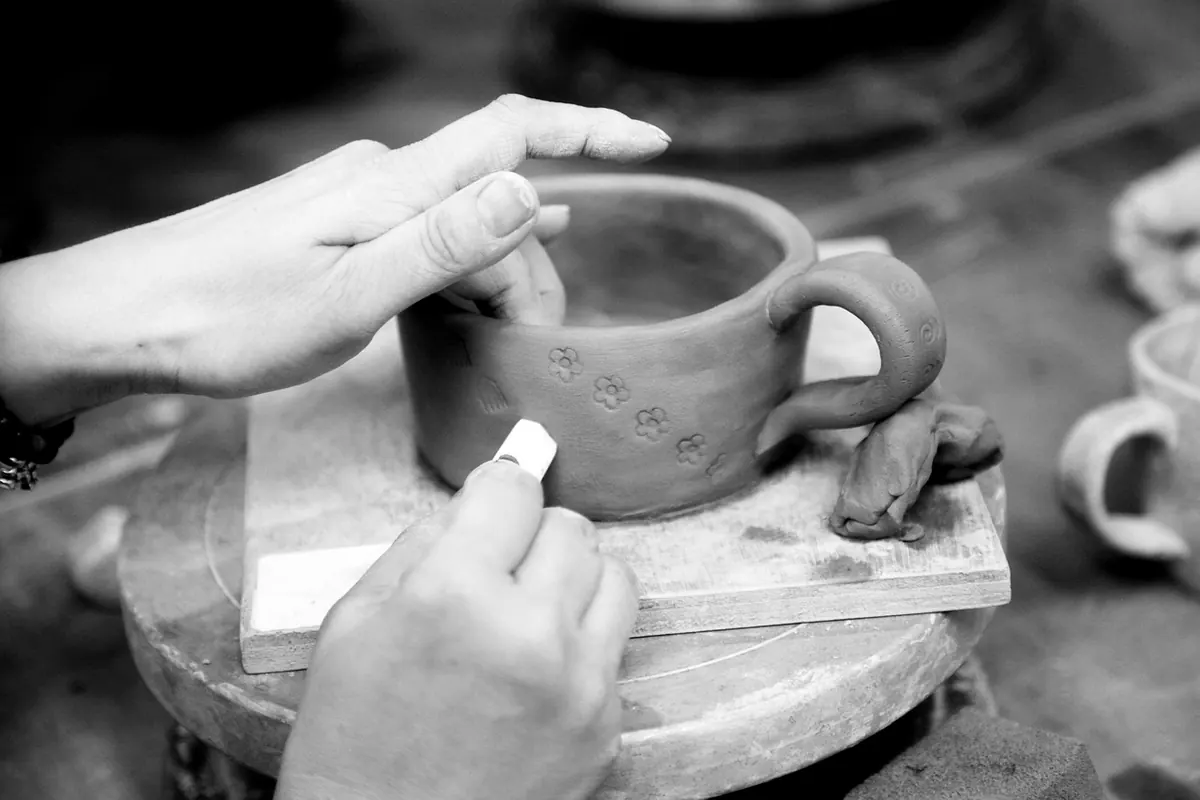
Ware that reads bone-dry in July can still be holding water in February. A cold room slows evaporation, and thick-footed pots, sculptural pieces, and anything with a joined handle may keep moisture in the seams days longer than you expect. A mug that feels dry on the outside can still have a cold, damp core, especially where the handle meets the body.
Hold the kiln somewhere around 180–200°F, below boiling but warm enough to drive off mechanical water, with the lid propped and the top peephole open until steam stops condensing on a cold mirror held near the opening. An hour is a guess. Two or three is insurance. Then close up and begin your ramp. If you fire often in winter, write the candle time into your schedule so you don't have to decide while your hands are cold.
Around 1060°F, silica in the clay shifts structure and the piece moves. Racing through that window is how cracks appear in an otherwise sound load. A slower bisque below 1100°F costs a little fuel or electricity and saves a lot of pots. The same logic applies to glaze firings: a steady climb through the early stages beats a fast start every time.
Tempting as it is to crack the lid in a freezing room, cold air rushing into a hot kiln shocks both ware and elements. Wait until the kiln is cool to the touch. If the studio is below freezing, expect condensation on the shell as it drops and wipe it dry before the next load. Never fire ware that is frozen or partly frozen; the water inside it has nowhere good to go.
Frozen clay isn't ruined, but it is unworkable, and the bag it's in usually isn't. Water expands as it freezes, so a full bag left on a concrete floor splits open, dries at the tear, and leaves you with a stiff, uneven block. A 25-pound bag of porcelain can turn into a pile of icy chunks overnight if it sits against an outside wall.
To thaw clay, bring the bag into a cool room, not a hot one, and let it sit for a day or two. A sudden blast of heat will condense moisture on the outside of the clay and leave the middle cold. If you need it sooner, open the bag, cut the block into smaller pieces, and let them air-thaw on a plaster bat or in a plastic tub. Once thawed, wedge thoroughly. If the clay is too dry, add water gradually and bag it overnight; if it is too wet, spread it on plaster or newsprint to stiffen.
Glaze buckets are easy to forget until the first dip of the season. Freezing can crack plastic buckets, split seams, and push settled materials into a rock-hard layer at the bottom. Even if the bucket survives, the glaze may separate or dry out around the rim. Cold also makes some materials settle faster, so a glaze that stirred up easily in summer may need extra patience in winter.
If a glaze looks right but brushes on like water, it is usually too cold to trust. Let it reach room temperature and stir again before judging the batch.
Cold weather is hard on metal. Wheel heads, splash pans, banding wheels, and metal rib tools all collect condensation when the studio warms up faster than the tools do. Rust appears overnight on a wheel head left wet, and a seized bearing or stiff pedal is a frustrating way to start a throwing session. A few minutes of care after each session prevents most of it.
If the studio has a sink, drain hoses and traps are another winter weak point. A trap full of clay water can freeze and split. After a throwing session, flush the sink with warm water and make sure the trap is not holding standing water. If the studio will be unheated for weeks, consider draining the line or using plumbing-safe antifreeze in traps, following local guidelines.
None of this is glamorous, but it is the difference between a winter of steady work and a winter of repairs. The kiln, the clay, the glazes, and the tools all ask the same thing: keep them dry, keep them above freezing, and make changes gradually. Do that, and cold weather becomes just another studio condition to plan around, not a season to survive.
Photo: manseok_Kim / Pixabay